
Not sure if your company uses V1 or V3? Check in the web app:
- Go to Dispatch.
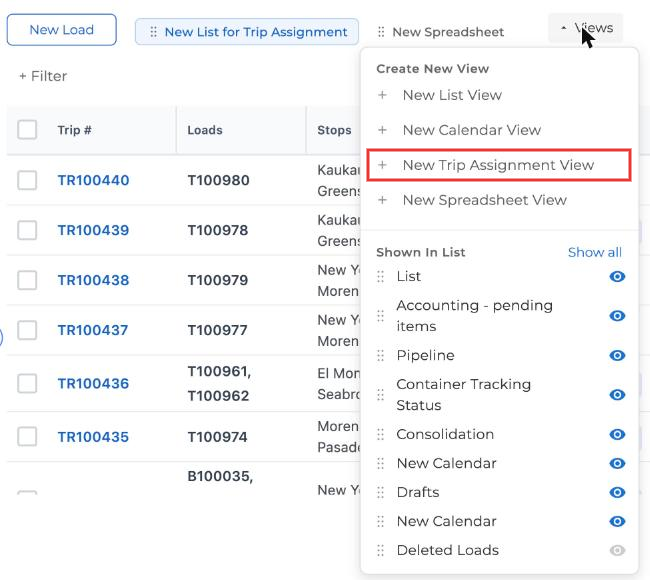
- Click + Views at the top of the page.
- If you see New Trip Assignment View in the list, you're on V3. Use Driver App V3: Trips.
- If you don't see it, you're on V1. Use Driver App V1: Loads.
Simple mode is only available on V1.
This guide is for companies that dispatch drivers by load. If your company uses trips (several loads and stops in one route), see Driver App V3: Trips.
🎥 Watch the video on how to use the Truckpedia Driver App
1. Log in
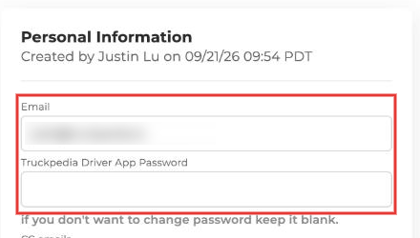
Drivers log in with the email and password their company sets up. Admins set these on the driver's profile in the web app (Assets → Drivers → open the driver → Overview), using the Email and Truckpedia Driver App Password fields.
2. Settings
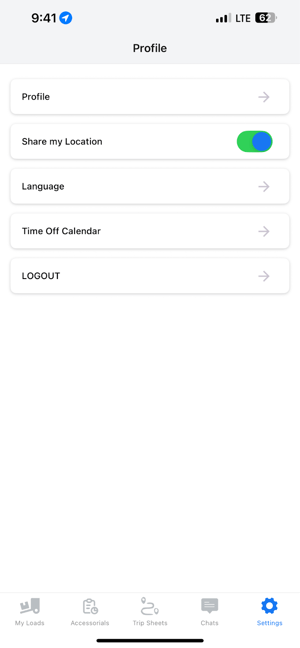
Tap Settings at the bottom right. Here you can:
- View and update your profile
- Turn on Share my Location so dispatch and your customers can see where the load is (set location access to "Always" in your phone settings too)
- Change the app language
- Request days off from the Time Off Calendar (see Driver App: How to Request Time Off)
- Log out
3. Your load list
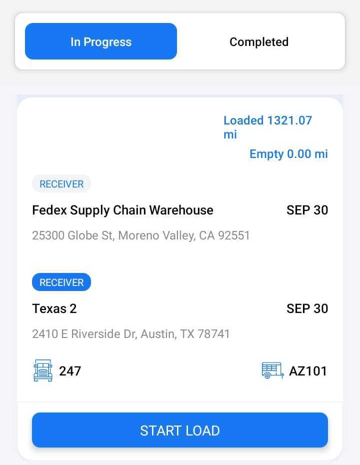
The In Progress tab shows your loads in order: the load you're working on is at the top, then the next load by pickup date, then later loads. Each card shows:
- Loaded miles (pickup to delivery) and Empty miles (from your last delivery to this pickup). These are calculated for you.
- Each shipper and receiver with its address and date
- Your truck and trailer number
4. Work through each stop
Every load follows the same steps, in this order. If a load has more than one pickup or delivery, repeat Arrived and Loaded (or Unloaded) at each stop.
- Start Load: tap it when you're ready to go. You have to start the load before the other buttons work.
- View Load: tap it to see the full pickup and delivery details, like addresses, appointment times, reference numbers and notes.
- Arrived: tap it when you get to the shipper.
- Loaded: tap it when you're loaded and ready to leave. Use the camera icon to upload the BOL and pickup photos.
- Arrived: tap it when you get to the receiver.
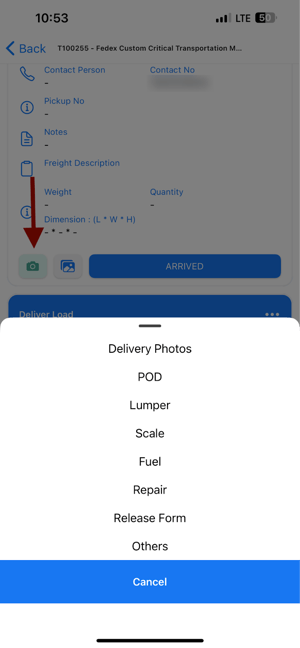
- Unloaded: tap it when you're empty. Upload the POD, delivery photos and any lumper receipts.
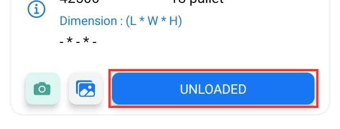
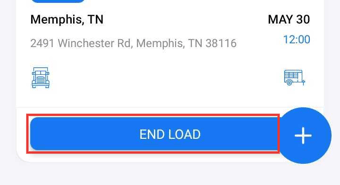
- End Load: tap it once everything is done. The load moves to the Completed tab.
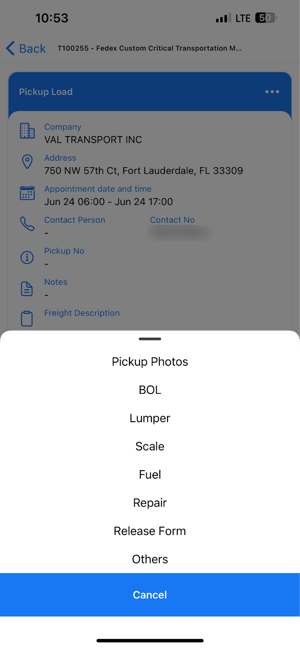
The upload menu lets you pick what you're sending: Pickup Photos, BOL, Lumper, Scale, Fuel, Repair, Release Form or Others. Hold the paper steady and the app scans it into a PDF. Add more pages with Add Photo, then tap Upload.
Tapping Arrived, Loaded and Unloaded at the right time matters. Those times are what Truckpedia uses to track detention and show your customer where their freight is.
5. Swap trailers (drop and hook)
If you drop or pick up a trailer at a stop, use the ••• menu on the stop. See Driver App: How to Drop and Hook Trailers.
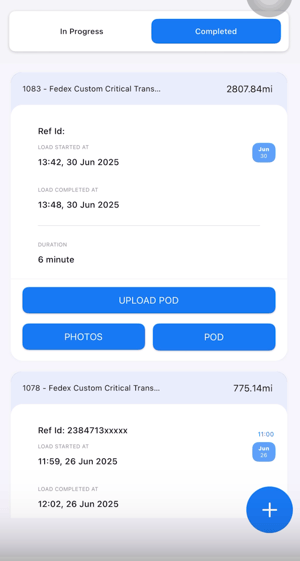
6. Completed loads
Open the Completed tab to see past loads and upload anything you missed, like a late BOL or POD.
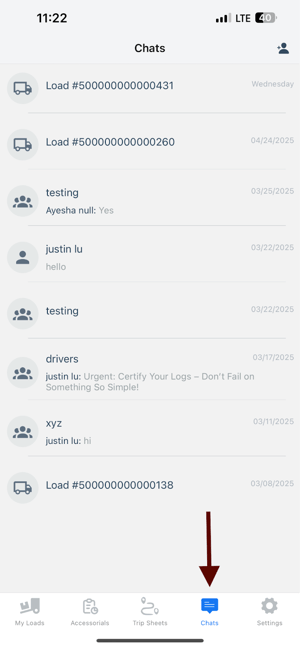
7. Chat with dispatch
Tap Chats at the bottom. Each load has its own chat thread, and you can start new chats with your team. Use it to ask questions or send documents.
More in the app
- Create your own load: if your company allows it, tap the blue + button. See Driver App: Create Your Own Load (Self-Dispatch).
- Trip Sheets: if your company pays by trip sheet, fill them out from the Trip Sheets tab. See Trip Sheets in Truckpedia TMS.
Need help? Email help@truckpedia.io.